
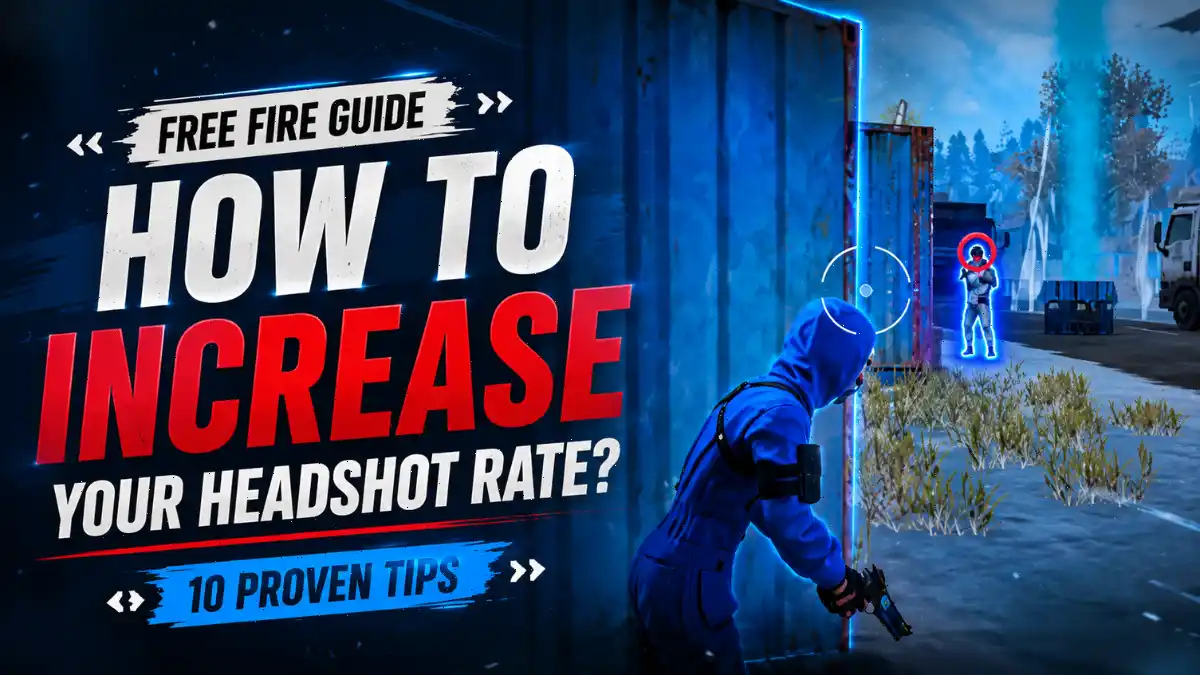
If you play Free Fire and are not able to hit headshots, it is not a big problem. Many players struggle to execute headshots properly, even though hitting a headshot is quite easy. By improving a few basic things, you can hit more accurate headshots.
Your headshot rate does not depend only on sensitivity settings. It also depends on your device, playstyle, positioning, and ability to make the right decisions at the right time. In this post, I am sharing 10 tried-and-tested methods that I have learned from playing the game for years. These tips are useful for both new and pro players. Pick one tip, try it, and then move to the next one. This is how you can slowly improve your headshots over time.
Here is 10 Proven Tips
1. What Is the Best Sensitivity Setting for Free Fire Headshots?
The best headshot sensitivity in Free Fire depends on your device’s RAM and the 0–200 sensitivity scale. For a 4GB RAM phone, start with General at 160–185, Red Dot at 170–185, 2X Scope at 150–175, and Sniper at 90–120. Test these settings in the Training Ground and adjust them by 5 points at a time. Never blindly copy a YouTuber’s sensitivity code.
Your phone’s performance directly affects what sensitivity feels right. A setting that works on a 120Hz flagship will feel completely wrong on a 4GB RAM budget phone. According to device-specific sensitivity research, low-end devices need higher values to compensate for lag and frame drops.
Here, suitable sensitivity settings are provided for devices across all ranges:
| Device Type | General | Red Dot | 2X Scope | Sniper |
|---|---|---|---|---|
| 2-4GB RAM | 180-200 | 190-200 | 170-190 | 140-170 |
| 4-6GB RAM | 160-185 | 170-185 | 150-175 | 90-120 |
| 6-8GB RAM | 150-180 | 160-190 | 140-170 | 80-110 |
| 8GB+ / 120Hz | 140-170 | 150-180 | 130-160 | 60-100 |
For the full step-by-step setup, check our Free Fire headshot sensitivity settings guide. Also make sure your Free Fire control settings are optimized alongside sensitivity.
The fire button size also matters a lot. For a 4GB RAM phone, keep it between 48% and 52%. If it is too small, you may miss your drag. If it is too large, it can block your view.
2. Keep Your Crosshair at Head Level Always
Crosshair placement is one of the main reasons why pro players hit more headshots than beginners in Free Fire. Good players do not drag their aim all the way to the head. Instead, they already keep their crosshair around head level.
Most new players keep their crosshair pointed toward the ground while running. When an enemy appears, they have to swipe the crosshair much higher to aim at the head, which takes extra time. In a fast-paced game like Free Fire, even milliseconds can decide who wins. That is why keeping the crosshair in the right position and using it properly at the right time is very important. This will help you execute perfect headshots more consistently.
Instead, always keep your crosshair at neck or upper-chest level. Do not let it drop even while looting or rotating. When you saw an enemy or rush on you, you only need to adjust the crosshair slightly upward. This is called “pre-aiming,” and it is a habit that every pro player develops after playing thousands of matches.
Practice this in the Training Ground. Run around and try to keep your crosshair at the dummy’s head level at all times. Practice this for 10 minutes every day. Within a week, it will start to feel natural.
3. How Do You Master the Drag Headshot Technique?
A drag headshot means aiming at the enemy’s chest, pressing the fire button, and swiping your finger upward in one smooth motion so the crosshair moves from the chest to the head. Start with the Red Dot Scope and practice 50 drag shots every day on moving targets in the Training Ground. Beginners should learn drag shots first and practice one-tap shots later.
Here is the step-by-step method. First, place your crosshair on the enemy’s upper chest or neck. Second, press the fire button. Third, immediately drag your finger upward toward the head in one smooth motion. Do not move your finger too quickly or stop in the middle. Just make one smooth drag.
The length of your drag changes depending on the range. Use a longer drag at close range, a normal drag at medium range, and a micro drag at long range fight. Many players miss their headshots because they use the same drag length in every fight.
If you want to advance from drag to one-tap, read our one-tap headshot sensitivity guide. One-tap means placing the crosshair directly on the head and firing once. It is harder but faster. Master drag first, then move to one-tap.
4. Which Guns Are Best for Landing Headshots in Free Fire?
Not every gun in Free Fire is made for headshots. With a shotgun like the M1887, you can take down an enemy with a single shot at close range if you aim properly. SMGs like the MP40 have a high fire rate, which helps you adjust your aim quickly.
Assault rifles like the SCAR and XM8 have lower recoil, making it easier to hit headshots at mid-range. For long-range fights, a sniper like the AWM is a good choice.
| Fight Range | Best Headshot Guns | Why They Work |
|---|---|---|
| Close Range | MP40, M1887 | Effective for fast, close-range headshots |
| Mid Range | SCAR, XM8, AK47 | Good accuracy and manageable recoil |
| Long Range | AWM, M82B | High accuracy and damage at long distances |
Recoil is your enemy when going for headshots. Guns with high recoil can move your aim away from the head after the first shot. That is why pro players prefer guns with recoil patterns that are easy to understand. Choose one gun for each range category and use it regularly. When you do not keep changing weapons in every match, your muscle memory develops faster.
Some best Free Fire characters like Laura and Wolfrahh also boost headshot damage or accuracy. Pair the right character with the right gun for maximum impact.
5. Pick Gun Skins That Boost Headshot Accuracy
Not every gun skin helps with headshots. Many players think double damage skins are always the best choice. That is not true.
The right skin depends on the gun type. For shotguns, pick skins that increase range. For Desert Eagle, pick accuracy skins. For SMGs like MP40, pick rate of fire skins. For AK47, rate of fire helps more than raw damage in most fights.
Headshots are about hitting the right pixel at the right time. A skin that increases accuracy tightens your bullet spread. A skin that increases range helps your shotgun pellets stay tight at longer distances. Double damage only helps after you already hit the head. If you are missing, it does nothing.
Check what attributes each skin gives before you equip it. Do not just pick the rarest skin in your inventory. Pick the one that matches your gun and your playstyle.
6. Position Your HUD and Fire Button for Easy Drags
Your fire button position and size can make or break your drag headshots. If the button is too small or placed awkwardly, your thumb cannot drag smoothly upward.
Set your fire button size to 40-50%. Place it where your thumb can easily swipe upward without hitting the edge of the screen. The button should sit in a spot that feels natural during both drag shots and normal firing.
Aim precision should stay on Default. This keeps aim assist working properly, which helps your crosshair stick to targets during drag motions. Do not turn it off unless you are an advanced player with perfect manual aim.
If you are serious about headshots, learn a 3-finger or 4-finger claw layout. Claw setups let you aim, fire, and move at the same time without lifting your thumb. Our custom HUD layout guide has the best finger setups for beginners.
Test your HUD in Training Ground before taking it into ranked matches. Small adjustments to button position can feel huge after a few hours of play.
7. Use Cover and Time Your Shots Smartly
Always fight from behind cover. Let the enemy fire first, hold your position, then peek and strike when they reload or expose themselves. If you shoot first from an open position, the enemy takes cover and your headshot chance disappears.
This is a lesson I learned the hard way after hundreds of matches. When you spot an enemy, your first instinct is to shoot immediately. Resist that urge. First, get behind a wall, box, or tree. Second, line up your crosshair at head level. Third, peek out and fire. If you miss, duck back behind cover.
When an enemy is rushing you, let them come into your crosshair. Hold your fire until they are in the open and you have a clear headshot angle. If you shoot too early, they will dodge or take cover. Patience wins more fights than speed.
Peek shooting is the technique pros use most. Pop out, fire one or two bullets at the head, then hide. Repeat. The enemy never gets a stable target, but you always know where they are.
8. Never Stand Still: Movement Tips for Headshot Fights
If you stand still in a fight, you are an easy headshot for the enemy. Movement breaks their aim while you set up yours.
Keep your character moving at all times. Use zig-zag patterns when rushing. Move side to side during peek battles. Crouch and stand up quickly to throw off the enemy’s crosshair placement. The harder you are to hit, the more time you have to land your own headshot.
When an enemy is moving left or right across your screen, do not just stand still and try to track them. Move in the same direction they are moving. This reduces the relative speed between you and the target. Your aim needs less adjustment, and your drag shot becomes easier.
Strafing (moving left and right while firing) is a skill every headshot player needs. Practice it in Training Ground against moving bots. It feels awkward at first, but it becomes second nature after a few sessions.
9. How Should You Practice Headshots Daily?
Spend 15-20 minutes in Training Ground every day. Practice drag shots on static dummies, then moving bots. Play Only-Headshot custom rooms weekly. Do 1v1 matches with friends. Change one sensitivity setting per match to find your sweet spot.
Here is a simple daily routine. First 5 minutes: drag shots on static dummies. Focus on smooth upward motion. Next 5 minutes: track moving bots and try to land headshots while strafing. Next 5 minutes: shotgun practice at close range. Final 5 minutes: sniper practice with AWM or M82B.
Only-Headshot custom rooms are the best practice tool. In these rooms, body shots do not deal damage. You are forced to hit the head to win. It is frustrating at first, but it builds precision faster than any other method.
Track your progress with a weekly self-check. Ask yourself: Is my crosshair staying at head level? Does my sensitivity feel stable? Am I using cover in every fight? Am I practicing daily? If any answer is no, focus on that area next week.
10. How Do You Fix Phone Lag for Better Headshot Aim?
Set graphics to Smooth, enable the highest stable FPS, close background apps, turn off Battery Saver, and test DPI between 400-550 on Android. A laggy game makes even perfect aim feel delayed and sticky. Smooth FPS is non-negotiable for consistent headshots.
Lag is the silent killer of headshots. When your game drops frames, your drag shot does not register the way you moved your finger. The crosshair jumps instead of sliding. That jump is the difference between a headshot and a body shot.
Start by setting graphics to Smooth. It looks less pretty, but it gives you the most stable frames. Enable the highest FPS option your phone supports. If you have a 90Hz or 120Hz display, use it. High refresh rate screens make drag shots feel more responsive.
On Android, you can test DPI settings between 400 and 550. Higher DPI makes small finger movements register as bigger screen movements. Some players find this helps with micro-adjustments. Others prefer lower DPI for stability. Test both and pick what feels right.
If your phone heats up during long sessions, performance drops. Take breaks. Close all background apps before launching Free Fire. Turn off Battery Saver mode because it limits CPU performance. For a complete device optimization guide, read our post on how to fix lag in Free Fire.
Final Word
Hitting headshots in Free Fire is not about one trick. It is a complete system. If you follow this system properly and work on all its parts, you can hit perfect headshots. Whether your enemy is running, you are rushing, or you are using a sniper rifle, the right technique can help you execute a perfect headshot. We have shared 10 methods to help you improve. Follow them and make your headshots better.
If you found this guide helpful, bookmark it and share it with your squad. For more Free Fire tips, sensitivity guides, and esports updates, keep reading Gaming News Lab. We cover everything Indian gamers need to know.
Frequently Asked Questions
For 4GB RAM phones, start with General 160-185, Red Dot 170-185, 2X Scope 150-175, and Sniper 90-120. Test these in Training Ground and adjust by 5 points at a time until your drag shots feel smooth.
Most players understand the technique within one week. Headshot rate starts improving after two weeks of daily practice. Aim becomes stable and consistent after about one month of regular Training Ground sessions.
Beginners should start with drag shots. Drag headshots are easier to learn because you aim at the chest and swipe upward. One-tap requires placing the crosshair exactly on the head before firing, which needs better aim control. Master drag first, then move to one-tap.



1 thought on “How to Increase Headshot Rate in Free Fire: 10 Proven Tips”