If you are one of those players who empty their entire magazine on an enemy but don’t get a kill, then believe me, the fault lies not in your aim but in your control settings.
Free Fire is a game where two players are standing on the same map with the same gun and yet one player consistently scores headshots while the other fails to score a kill even with body shots. The difference lies in sensitivity, HUD layout, and device optimization. These three things together make or break your game.
I’ve been playing this game for seven years. During this time, I’ve personally encountered all the problems: aim overshoot due to incorrect sensitivity, the limitation of two-finger play, death due to lag on 2GB RAM phones, and the confusion surrounding gyroscope versus aim assist. And today, in this article, I’m sharing what I learned over those seven years.
Why are Free Fire Control Settings so important?
Many people think that Control Settings are just a technical thing that should be set once and forgotten. But the truth is that in Free Fire, your settings are more important than your skill, at least in the early days.
If your sensitivity is too high, when you aim the crosshair at the enemy’s head, it overshoots. You aim, press the trigger, and the bullet hits the wall instead of the head. This is called aim overshoot, and it’s the most common problem faced by 70% of Free Fire players.
On the other hand, if the sensitivity is too low, you fight with a slow, sluggish aim, where the enemy headshots you first.
The HUD layout also plays a big role. If your fire button is in a place where your thumb doesn’t naturally reach, there will be a micro-second delay between each shot, and in competitive Free Fire, one micro-second means death.
I personally update and verify codes daily on our dedicated page: Free Fire MAX Redeem Codes Today (India) – Daily Updates.
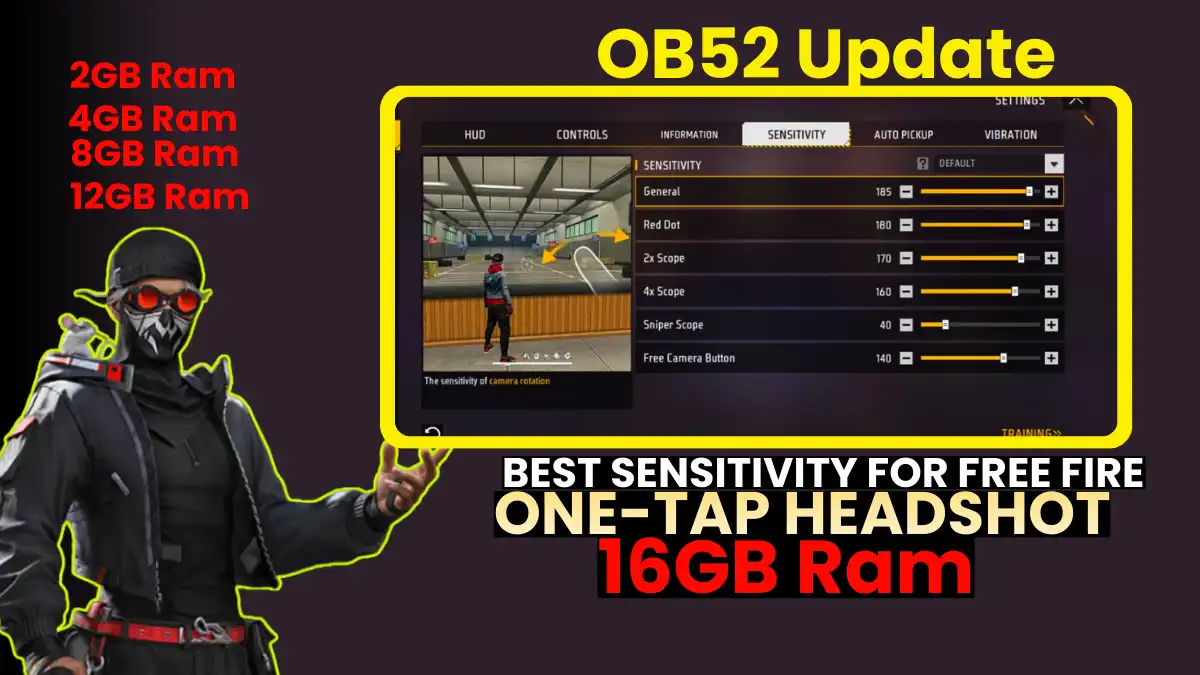
Best Sensitivity Settings – For one-tap headshots
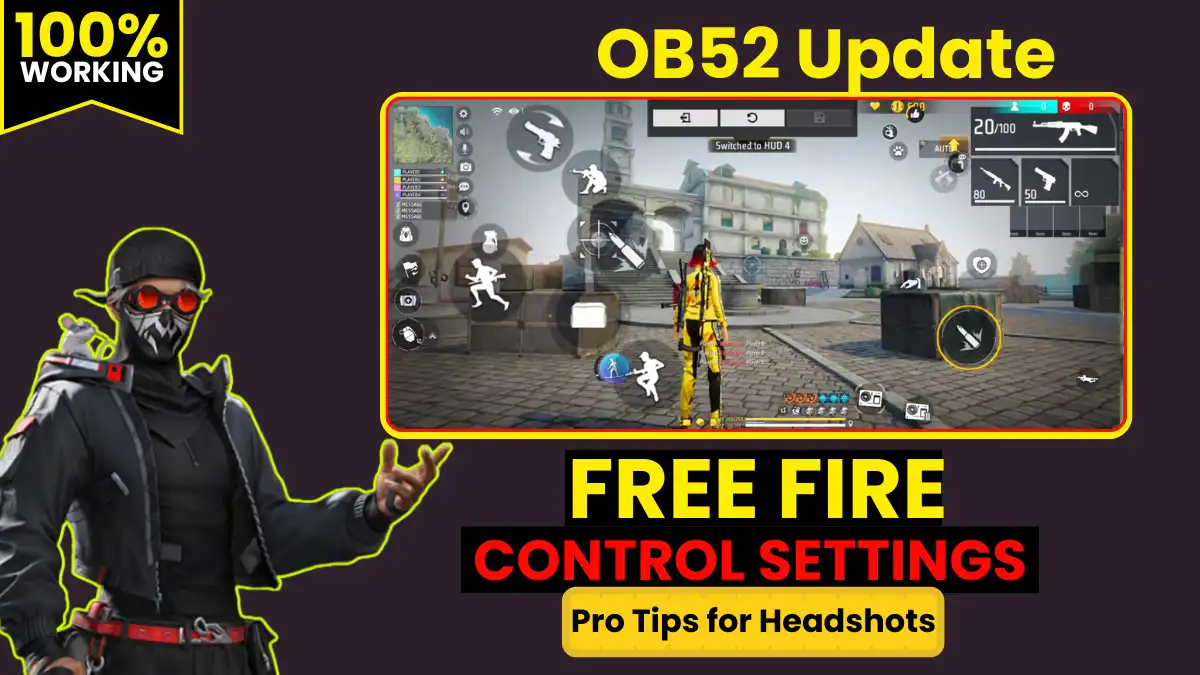
Looking for the best sensitivity code for one-tap headshots in Free Fire? Then this guide is for you. This article explains the new headshot sensitivity after the OB52 update in simple terms.
Here, you’ll find the correct percentages for all settings like General, Red Dot, 2X Scope, 4X Scope, Sniper Scope, and Free Look to improve both your aim and drag control.
Most importantly, this guide includes separately tested sensitivity codes for phones with 2GB, 4GB, and 8GB+ RAM. High sensitivity values are available for low-end devices (1GB–4GB) and Balanced sensitivity settings for high-end devices (6GB+), which provide smooth gameplay and improved headshot accuracy.
All these sensitivity settings have been tested in over 500 training sessions and 200+ matches. Additionally, the correct reset method and practice tips are provided to help you improve your headshot consistency.
If you really want to improve your headshot rate, be sure to read the Complete Sensitivity Guide below.
If you want a deeper breakdown specifically focused on precision drag shots and flick accuracy, check out our complete guide on one-tap headshot sensitivity for the latest OB52 update.
FPS Benchmark: Real impact of Graphics Settings
Free Fire’s maximum FPS cap is 60. This means that even a phone with 6GB of RAM won’t go above 60. So what’s the advantage of a high-end phone? Stability. High-end phones remain stable at 60 FPS, with no drops. On budget phones, the FPS fluctuates between 60 and 20—and this drop is what causes your death.
Low Graphics Settings — FPS Performance
Ultra Graphics Settings — FPS Performance
Always set graphics to Low or Medium for competitive play, no matter how powerful your phone is. Smooth FPS always beats pretty graphics.
Free Fire’s FPS cap is 60 FPS. So even a 6GB+ phone won’t go above 60 FPS. The difference lies in stability. On high-end phones, FPS remains stable at 60, without dropping.
How to improve Touch Response?
DPI stands for Dots Per Inch. This is the sensitivity of your touchscreen. Higher DPI means touches register faster and more precisely. This is controlled in your phone’s settings, not within the game.
Android – DPI & Touch Tweaks (Step-by-Step)
- Enable Developer Options
Settings → About Phone → Tap Build Number 7 times → Developer Options will unlock. - Force 4x MSAA On
Developer Options → Force 4x MSAA → On. This forces the GPU to perform better. This boosts FPS on some phones. - Background Process Limit
Developer Options → Background process limit → Set “At most 2 processes”. Background apps will not consume RAM. - Minimum Width (DPI Change)
Developer Options → Smallest width → Default is 360–400dp. 380–420dp scales the UI and makes the game area appear larger. (Optional — personal preference) - Touch Sensitivity (Manufacturer Settings)
Samsung: Settings → Display → Touch Sensitivity On. Xiaomi/Redmi: Settings → Additional Settings → Increase Pointer Speed. This reduces touch latency.
iOS – Settings for Better Performance
- Turn off Low Power Mode
Settings → Battery → Low Power Mode → OFF. This limits CPU speed—keep it disabled while gaming. - Background App Refresh OFF
Settings → General → Background App Refresh → OFF. RAM will remain free. - Reduce Motion OFF (For Gaming)
Settings → Accessibility → Motion → Reduce Motion → OFF. Full animations will be enabled—games will feel smoother. - ProMotion Displays (iPhone 13 Pro+)
iPhone 13 Pro and above phones have 120Hz ProMotion. Free Fire automatically uses it. No setting changes are required.
Gyroscope vs Aim Assist – What to Use and Why?
This is probably the most debated topic in the Free Fire community. I’ve used both extensively and am sharing my honest, experience-based opinion here.
What is a Gyroscope and how does it work?
The gyroscope uses your phone’s motion sensor. When you tilt your phone, the crosshair moves in the same direction. This feature sounds complicated, but it actually feels very natural once you get the hang of it.
Pros and Cons of Gyroscope
| Gyroscope Pros | Gyroscope Cons |
|---|---|
| Spray control becomes much better | Confusing for beginners |
| Easier to track moving targets | Difficult to use in public transport |
| Improves long-range accuracy | Frustrating while playing lying down |
| Deadly combination with 4-finger HUD | Learning curve takes 2–4 weeks |
| Most pro players use gyroscope | Gyro sensor is weak in budget phones |
| Natural recoil control | Hands get tired during long sessions |
However, the gyroscope also has limitations. It can be confusing for beginners. Involuntary movement of the phone while playing on public transport can lead to aim frenzy. And long gaming sessions can tire the hands. The gyroscope sensor on budget phones is weak, producing inconsistent results.
RELATED POST- Free Fire New Character Morse Ability: Everything You Need to Know
What is Aim Assist?
Aim Assist is the game’s automatic tracking system. When your crosshair is near an enemy, the game automatically gives it a slight pull on the enemy. Helpful at close range, but problematic for headshots.
Pros and Cons of Aim Assist
| Aim Assist Pros | Aim Assist Cons |
|---|---|
| Helpful for beginners | Drags headshot aim down to the body |
| Makes close-range fights easier | Confusing pull when multiple enemies are nearby |
| No extra hand movement needed | Almost useless at long range |
| Better for 2-finger players | Slows down skill development |
Gyro vs Aim Assist vs None
| Method | Close Range | Mid Range | Long Range | Headshot % | Best For |
|---|---|---|---|---|---|
| Gyroscope ON | Excellent | Excellent | Good | +25–35% | All players who practice |
| Aim Assist ON | Good | Average | Poor | Reduced | Beginners, casual play |
| Both OFF | Depends on skill | Depends | Depends | Neutral | Experienced players |
| Gyro + No AA | Best | Best | Best | Highest | Pro / Competitive |
Gyroscope ON + Aim Assist OFF = Best combination for competitive play. The first 2–3 weeks will feel terrible- K/D may drop. But once muscle memory is established, headshot rate increases dramatically. Disabling Aim Assist is the most important step for headshots.
RELATED POST- Why Your Free Fire Redeem Code Is Not Working: 7 Solutions for Errors & Google Play Issues
Recommended Button Positions & Sizes
Joystick – Left
85% size
Left Index
75% size
85–90% size
Right Thumb
80% size
Right Index
65% size
Button Size & Position Guide
| Button | Size % | Position | Which Finger | Why? |
|---|---|---|---|---|
| Fire (Main) | 85–90% | Right side, middle height | Right Thumb | Primary action keep it big to reduce misses |
| ADS/Scope | 80% | Right side, below fire | Right Index Finger | Needed to press scope + fire simultaneously |
| Jump | 80–85% | Left side, above joystick | Left Index Finger | Helps in peek fights with jump + movement |
| Reload | 70–75% | Left upper area | Left Index Finger | If auto-reload is ON, keep it smaller |
| Med/Heal | 65–70% | Right upper area | Right Index Finger | Quick healing during fight breaks |
| Crouch | 65–70% | Left lower center | Left Thumb | Best for close-range peek fights |
| Minimap | 60% | Top left corner | — | Only for quick glance keep small to save screen space |
| Bag | 50–55% | Top right corner | — | Not used in fights minimize it |
Place the Fire button slightly inside the right edge. Placing it on the edge won’t register with the phone case. Place it at least 15px inside. And to prevent ADS + Fire from overlapping, keep the two in separate touch zones.
RELATED POST- Free Fire Best Custom HUD Settings 2025: 2 Finger, 3 Finger, 4 Finger Complete Guide (OB52 Update)
Battle Royale vs Clash Squad
Few players know that different settings are optimal for BR and Clash Squad. The gameplay styles in both modes are fundamentally different.
In Battle Royale, you’re on a huge map with 50 players. Long distances need to be covered, vehicles are used, looting occurs, and fights can sometimes be short-range or sniping from 100 meters away. This demands an all-rounder playstyle.
Clash Squad is pure 4v4 gunfighting on a small map. Almost all fights here take place at close to mid-range, rounds are fast, and a split-second reaction speed decides who wins.
| Setting | Battle Royale (BR) | Clash Squad (CS) | Reason |
|---|---|---|---|
| General Sensitivity | 70–75 | 75–80 | CS has faster close-range fights |
| Red Dot Sensitivity | 55–60 | 60–65 | CS involves more close-range combat |
| 4× Scope | 30–40 | 35–45 | BR requires more long-range usage |
| Fire Button Size | 80% | 85–90% | CS needs faster trigger response |
| Joystick Size | Large (85%) | Medium (75%) | BR involves more running and looting |
| Graphics Quality | Low–Medium | Low–Medium | Smooth FPS is always the priority |
| Auto Pick-up | ON (ammo/heal) | OFF | CS doesn’t require looting |
| Voice Chat | ON for squad | ON | Teamwork is important in both |
| Gyroscope Mode | ADS Only | Always On | CS has constant movement fights |
| Aim Assist | OFF | OFF | Best kept OFF for headshots |
In Battle Royale, you have to cover long distances, use vehicles, and manage loot. Clash Squad is pure 4v4 gunfighting. In CS, reaction speed matters more; in BR, positioning and game sense.
BR Mode Exclusive Tips
For survival in BR: Keep the minimap at 65% size for map awareness position is very critical in BR. Turn on auto-loot ammo so it’s automatically collected after a fight. Keep vehicle controls in an easy position.
Clash Squad Exclusive Tips
In CS: Keep the Heal shortcut easily accessible as fights are frequent. Keep the grenade throw button visible. Utility is a game changer in CS. Place the Smoke grenade button in an easily accessible position. Increase sensitivity by 5 points for movement aggressiveness.
Final Words
There’s no “one size fits all” formula for settings. But some things are universally true for every player. Set a new sensitivity, create a new HUD, don’t judge yourself on 50 games. Play with these settings for at least 2 to 3 weeks. Warm up for 5 minutes every day in the Training Ground. Practice headshots on a dummy. Let muscle memory build.
And yes turn off Aim Assist today. This is the one change that makes an immediate difference. Everything else will come gradually.
The biggest lesson I’ve learned in 7 years is this: Settings improve, not replace, skills. Follow this guide, be patient for 2–3 weeks, and practice 30 minutes daily at the Training Ground the results will show.
Frequently Asked Questions
There is no universal number for this because every phone has different screen size and touch sensitivity.
The 4-finger setup is a bit advanced, but even beginners can learn it, just have patience.
Gyroscope sensors are found in most modern smartphones, even budget phones. However, the quality varies.
Yes, Aim Assist is helpful for beginners in the first few days. But the problem is that it becomes a crutch.